.png)
As an embedded systems developer I stayed away from developing on Windows because the Windows command line environment always felt "clunky" when compared to Unix based environments. Since I'm a big proponent for doing as much as possible from the command line(vs. in a GUI) that meant Windows wasn't a good fit for me.
However, the introduction of Windows Subsystem Linux (WSL) has for the most part removed any barriers I used to have when it comes to developing on Windows. The Linux subsystem is very full featured, and it allows you to run Docker which I use to create build environments for all of my projects.
Below is a quick guide on how I set up the Windows development environment I'm currently using.
Enable WSL 2 and Install a Linux Kernel
Before doing anything else, we'll first need to enable WSL v2, and install a Linux distro on it, in my case I installed Ubuntu 20.04 LTS. This guide from Microsoft walks you through the various way to install WSL and your choice of Linux kernel:
https://docs.microsoft.com/en-us/windows/wsl/install-win10
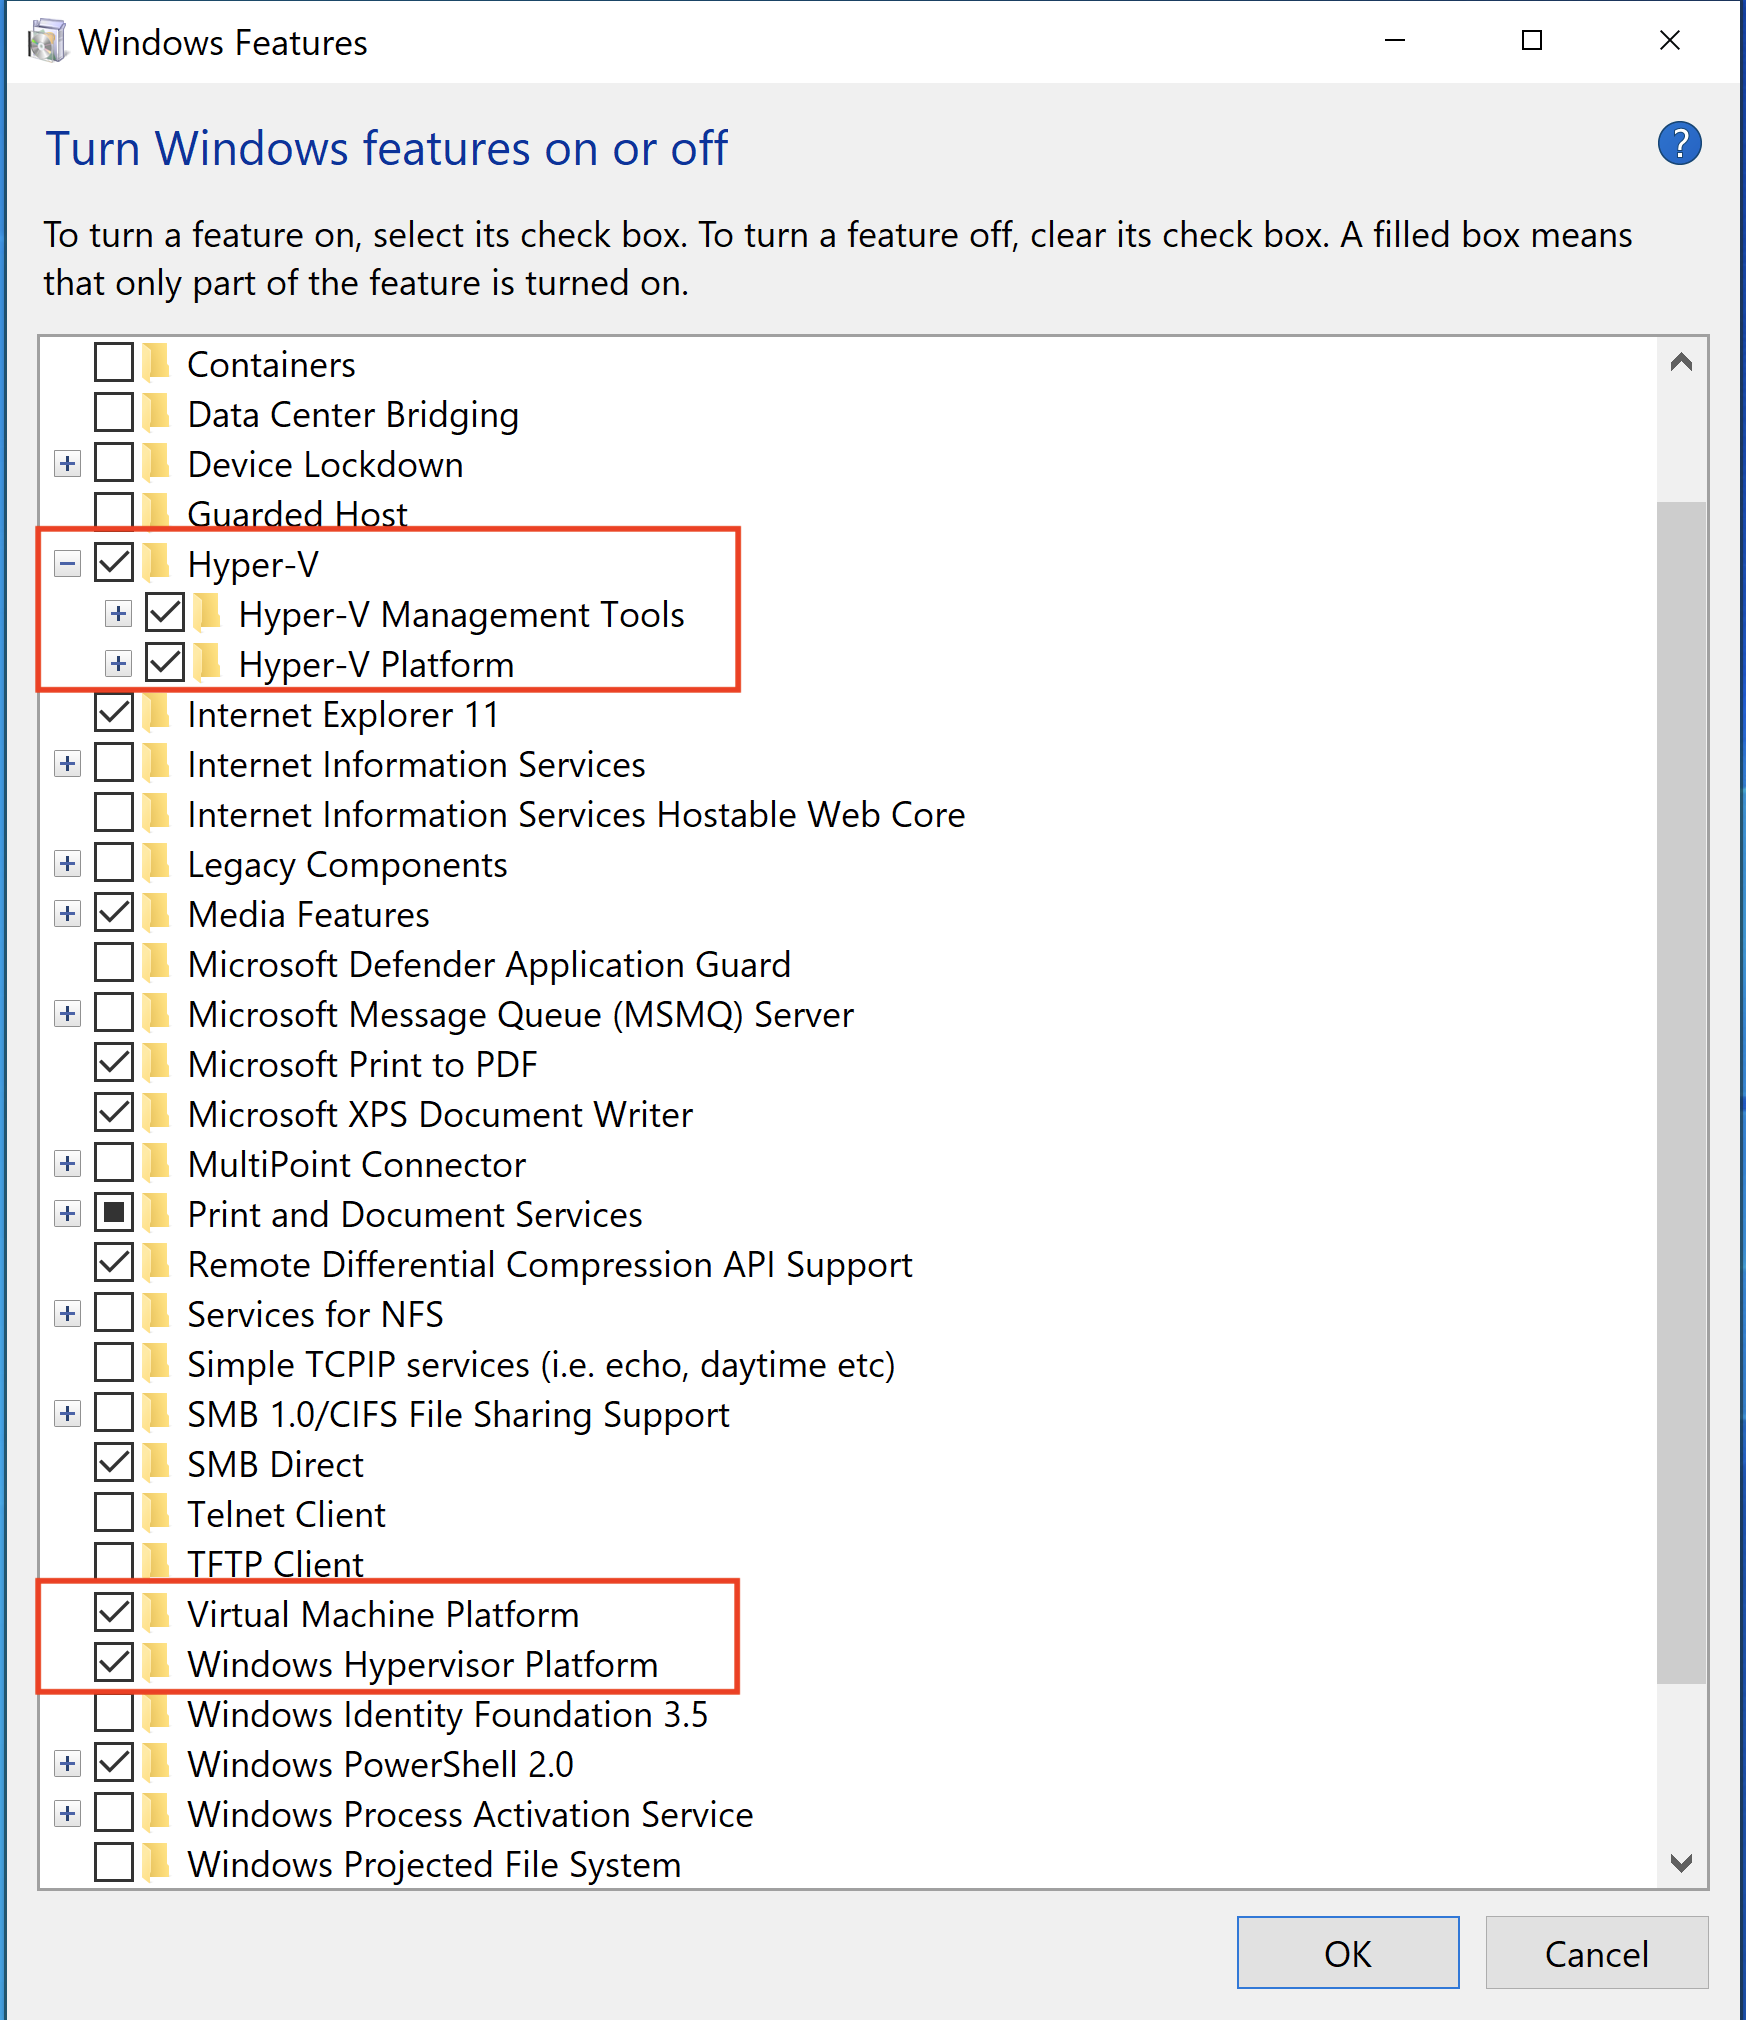
If WSL isn't coming up properly check that you have the necessary features enabled for virtualization.
Once WSL is installed you can easily open up a WSL terminal by typing {% c-line %}wsl{% c-line-end %} in the Windows search bar at the bottom.
Install Docker Desktop For Windows
Next we'll install Docker Desktop For Windows, which utilizes the Linux Containers WSL2 backend. Docker is a great way to encapsulate an entire build environment, making it trivial to share a project between team members, build servers, etc. Check out this article for more on moving your build environment into Docker.
- Install Docker Desktop For Windows and make sure to select "Install required Windows components for WSL 2"

- Once it's done you'll see a little whale icon with containers in your task bar at the bottom
SSH Keys
Setting up SSH keys on the WSL side will make interacting with remote git servers (e.g. GitHub, BitBucket, GitLab) faster and more secure compared to using https.
- If {% c-line %}ssh-keygen -t rsa{% c-line-end %} is not installed go ahead and install it {% c-line %}sudo apt-get update;sudo apt-get install openssh-client{% c-line-end %}
- Generate your keys {% c-line %}ssh-keygen -t rsa{% c-line-end %}
I like to store my keys in{% c-line %}~/.ssh{% c-line-end %} - Then you can get your ssh keys in GitHub, BitBucket, etc with the public key you just created, e.g. {% c-line %}id_rsa.pub{% c-line-end %}
VSCode
VSCode is a really nice open-source IDE for firmware development. It has a lot of plugins, with a usable Package Manager, making it a pretty powerful IDE. What's nice, is that VSCode works well with WSL so that you can interact with directories on the WSL side via VSCode, making firmware development easy.
- Download and install Visual Studio Code
- Open up WSL (type {% c-line %}wsl{% c-line-end %} in the windows search bar and hit enter)
- Run {% c-line %}code{% c-line-end %} to open up VSCode from the WSL side
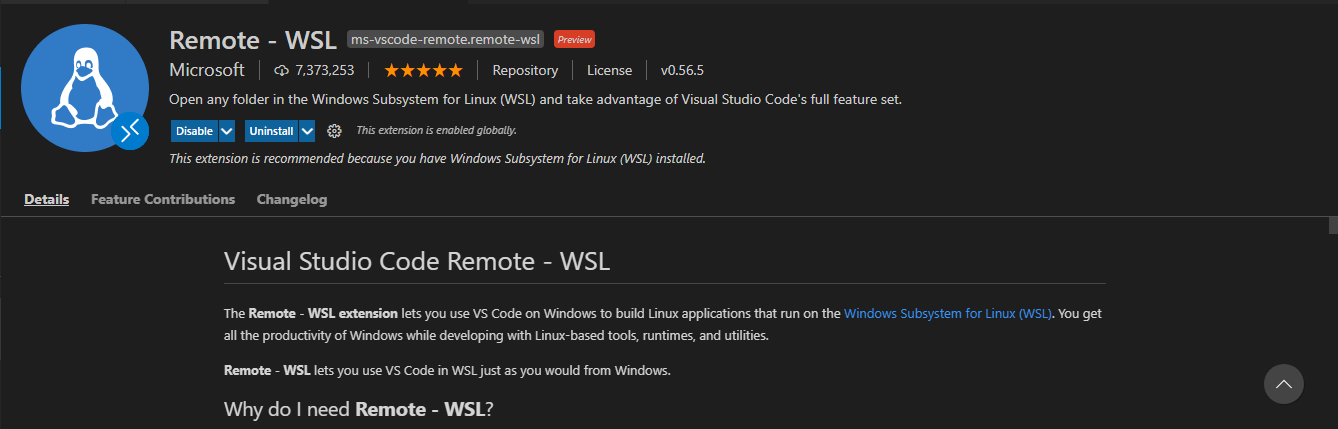
- Install the Remote-WSL extension
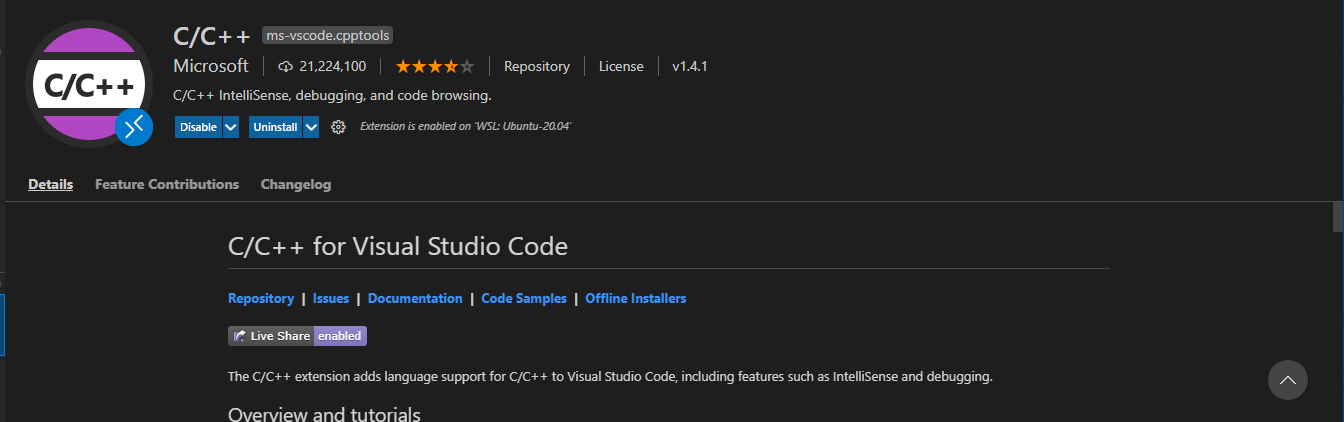
- Install the C/C++ extension on the WSL Side
This is used for debugging. Again, make sure to install this on the WSL side. If done properly it will say that the extension is enabled on WSL
- Clone your favorite project cd into the folder and type {% c-line %}code .{% c-line-end %}
- You'll be asked if you want to install VSCode Server, say yes
- If everything works as expected you'll see a WSL-Ubuntu green icon in the bottom left of the VSCode IDE. This means that VSCode is successfully integrated with WSL

Lager
Lager is an awesome tool (obvious bias alert) that makes Continuous Integration (e.g. GitHub Actions, GitLab CI/CD, BitBucket Pipelines, etc) with hardware-in-the-loop super easy. It also enables remote development, allowing me to develop on my hardware even when I'm not sitting next to it. Lager also has some really nice tools for integrating Docker build environments into your embedded workflow (Lager Docs).
One thing to note, to take advantage of Lager you need to sign up for a paid plan. The paid plan comes with 1 or more physical Gateways, which is how you connect to your development hardware.
- Open up a WSL terminal and run {% c-line %}pip3 install -U lager-cli{% c-line-end %}
- {% c-line %}lager login{% c-line-end %}
- Connect to your hardware e.g.: {% c-line %}lager connect --device nrf52{% c-line-end %}
- Erase: {% c-line %}lager erase 0x00 0x400000{% c-line-end %}
- Flash: {% c-line %}lager flash --hexfile app.hex{% c-line-end %}
- Debug: {% c-line %}lager gdbserver{% c-line-end %}
- Open UART connection to hardware: {% c-line %}lager uart --serial-device /dev/ttyS0{% c-line-end %}
- And much much more...
Wrap Up
With the above installed, I now have everything I need to enjoy developing a new project on Windows!
Notes: You may be tempted to keep your project files in {% c-line %}/mnt/c{% c-line-end %} so that you can access them from both the WSL side and the Windows side. Don't! Read/Write actions on files located in {% c-line %}/mnt{% c-line-end %} are extremely slow because of how file messaging is performed between Windows and WSL. For example a build that takes me 10 seconds in {% c-line %}/home{% c-line-end %} takes me over a minute in {% c-line %}/mnt/c{% c-line-end %}.
.svg)
